Basic Manual Installation
Installing BAMF Core Content
This guide is intended for absolute beginners. It should contain anything you need to get you mapping as quickly as possible, but leaves out advanced modules like compile pre-sets or tools.
-
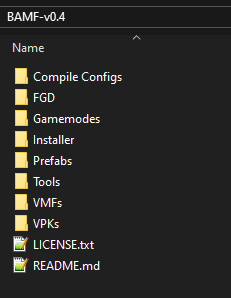
Download the latest version of BAMF from TF2Maps.net. The content of the .zip should look like this:

-
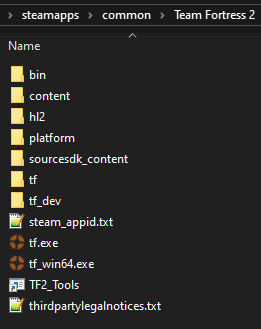
Navigate to your Team Fortress 2 installation and open it in another window. (In Steam, right-click on Team Fortress 2 and select
Manage→Browse Local Files. You're going to want to bookmark this folder as it is rather essential for mapping.)
-
In BAMF, open the
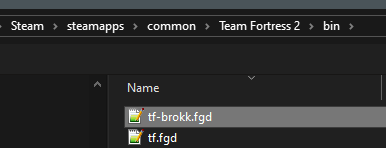
FGDfolder. Move the entire content intoTeam Fortress/bin.
Note: There is anotherbinfolder inTeam Fortress 2/tf. Ignore that one, it is never used for anything mapping-related. -
In BAMF, open the
Prefabsfolder. Move the entire content intoTeam Fortress/bin/Prefabs. If that directory doesn't exist, create it. -
In BAMF, open the
VPKsfolder. Move the entire content intoTeam Fortress/tf/custom.
This is where all your custom mapping assets and other TF2 mods are stored. -
Open Hammer (or Hammer++). Navigate to
Tools→Options..., then select theGame Configurationstab.
Delete the existing entry in theGame Data filessection by selecting and clickingRemove.

Then add the new Game Data File by clickingAddand navigating toTeam Fortress 2/bin/tf-brokk.fgd.

At the bottom of the same options window, make sure thePrefab Directoryis set like this: That's it! You can now start mapping.
Bonus: The
VMFs and Gamemodes folders contain a variety of reference material that should help you get started. Move those to wherever you keep your projects. Thanks and have fun.